
Module Tools - Starting Off
This is going to be the first in a series of posts related to working with module tools. In my previous article, I talked about what tools module authors should leverage. Now I want to walk through using these tools and demonstrate how they all come together. To do this, we will be creating a new module called HideWindowsExplorerDrives. The purpose of this module is to make hiding and showing explorer drives easier. The code is beside the point. I want to focus more on how we can use some of these community projects to take our module to the next level.
The Good Stuff: Setting up a new module project using my Plaster Template.
The first tool we will be going over is Plaster. Plaster is a PowerShell scaffolding module that we can use to bootstrap our project. If you’re new to Plaster, I highly recommended reading this article first.
Let’s be honest, at this point Plaster Module templates are like… opinions, everyone has one. I will be covering mine today, not because I think its better than anyone elses, but because it works for me. That’s the whole point of a Plaster. Customize it to fit your needs. Over the past couple of months, I have been maintaining this template. Realistically, I still don’t think it’s finished. I feel a module template is a very dynamic thing. After every project, I go back and see if there’s anything I can add or if there’s a new tool I want to incoorpoerate.
We’ll start by invoking the template. The basic syntax for Plaster is as follows.
Invoke-Plaster -TemplatePath PathToTemplate -DestinationPath PathToDestination
Once started, Plaster will prompt for any choices not supplied in the command line. The first couple of prompts in this template are pretty standard. There’s a prompt for the author, module name, version, and description. Next, we need to chose what folders the project will include. It has become standard practice to place all functions in their own PS1 files. These are typically further segregated by public and internal functions. Then at build time, some module compilation step occurs that combines them into the final PSM1 (We’ll talk more about this in the Invoke-Build article). For the HideWindowsExplorerDrives project, I think we are only going to need Public and Internal folders.
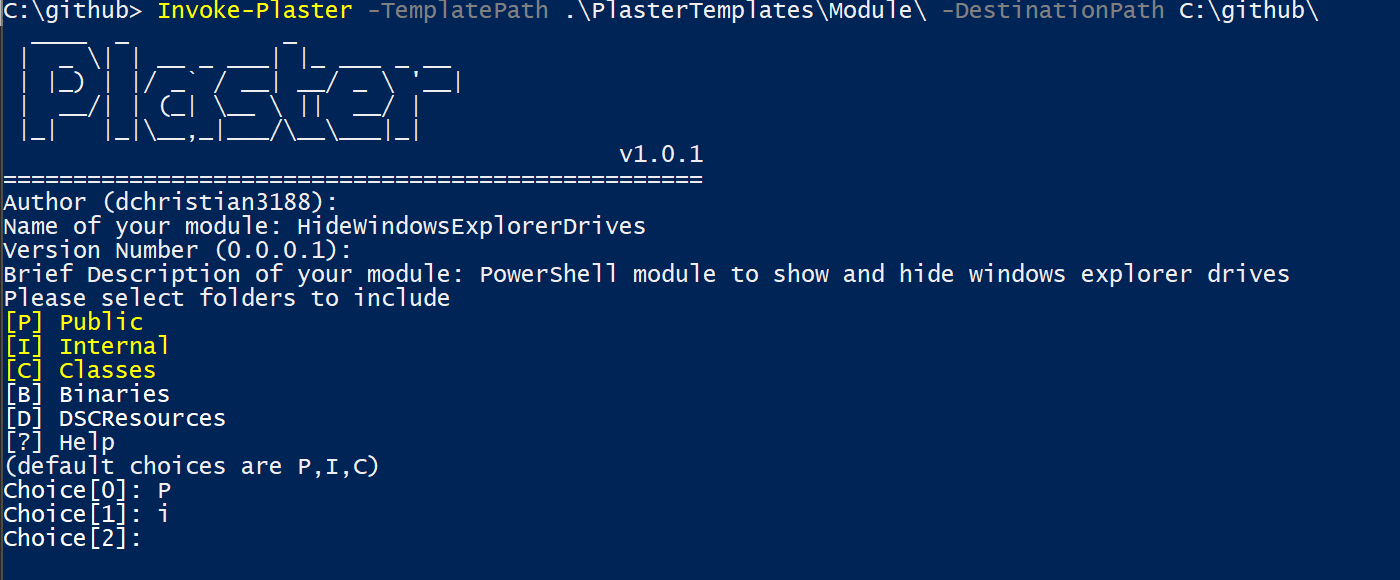
Next, we need to choose what tools we will be adding support for. For this project, I wanted to include the following:
- Pester for testing my module.
- Git for source control.
- InvokeBuild to “compile” my module.
- PSGraph for some cool visualaztions.
- PlatyPS for my cmdlet help.
The template defaults to yes for all choices.

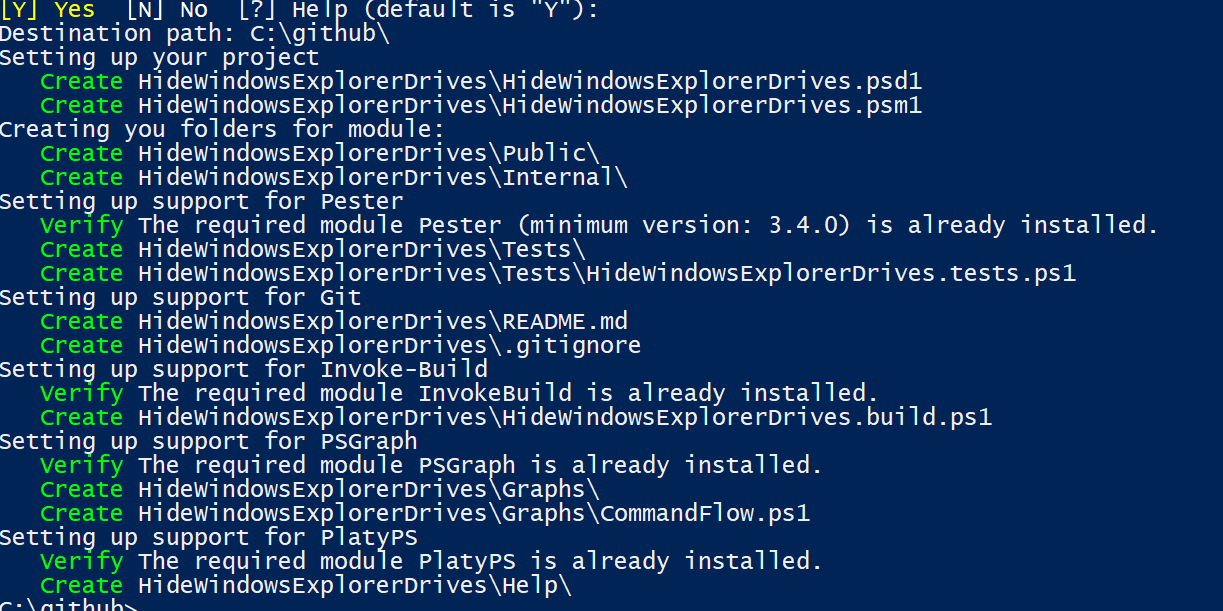
Now that Plaster knows what it’s building, it’s time to get to work.
The first items that get created are the PSM1 and PSD1.
Next is the folder selection we chose.
Since Pester was included, we’ll verify we have Pester installed and create a basic test file.
We also selected to include Git support.
This means our new project will have a .gitignore file as well as a README.md.
The InvokeBuild script is probably the most complex part of the whole Plaster Template.
Depending on what options the user selected, we have to do a lot of different string manipulation to have a working build script.
Support for PSGraph will check if the module is present and bring along a diagram that shows how the different functions call each other.
Last but not least, we’ll create a Help folder and check for PlaytPS.
Here’s what the new project looks like when opened in VSCode.
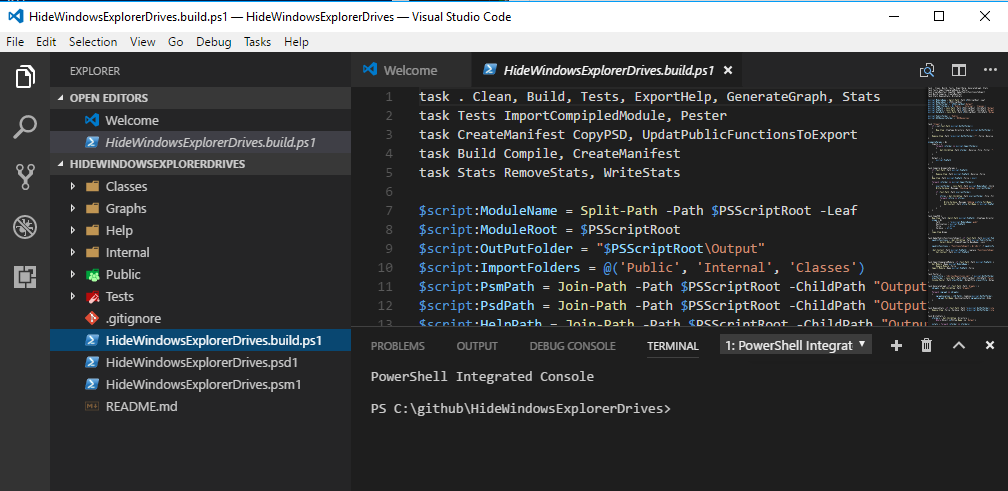
Alright at this point we should have our new project setup and are ready to start writing some PowerShell. Next up, we’ll be focusing on the module layout for the functions and Pester tests.